My Small-Starter, Loose-Rules, Homemade Sourdough Bread Method

I became serious about learning how to make sourdough at the beginning of January. I spent about a month trying out different recipes I found online and driving myself crazy by timing everything exactly and measuring with perfection. The bread was delicious, but I wasn’t sure if it was quite worth the time and effort (see my bread journey here).
Then I started to experiment with what would happen if followed the rules a little less strictly. I’m sure this statement won’t be endorsed by many bakers, but I learned that I could still get a really delicious loaf of bread with way less perfection.
This month, when the coronavirus pandemic hit and so many of us found ourselves relying on pantry staples instead of fresh groceries, I felt so lucky to have developed a sourdough routine so my family could continue to have fresh bread.
In the midst of so much fear, anxiety and sadness, it’s been a real bright spot see so many people becoming interested in baking sourdough at home for the first time. Suddenly homemade sourdough is hot again! All you need is flour, water and salt, and you can have the most delicious bread you’ve ever tried.
I’ve shared a bit about my sourdough method on Instagram, but over the past two weeks I’ve received so many questions about my method, I decided to write up a more detailed post about how I bake my bread.
In the interest of getting this info out there as quickly as possible, I didn’t take any new photos for this blog post (like everyone else, my girls are home from school and daycare and my work time is so limited!), so you’ll notice I link to a bunch of helpful videos to watch. Eventually, I’ll film my own video to accompany this post, but for now I’ll just give a major thanks to all the resources already out there!
Full disclosure, if you’re looking for the “right” way to bake sourdough, this probably isn’t it! I don’t drive myself crazy with exact measurements and timing, but for whatever reason, I’m getting really great loaves of bread this way!
How I learned to bake sourdough
Thanks for teaching me, internet! I spent a lot of time scouring the internet and various cookbooks for different sourdough recipes and watching videos on youtube. You can really dive deep into learning all about the chemistry behind the magic that is sourdough. If that appeals to you, my meths is probably not the right tutorial (check this or this book instead!). My goal today is to share the highly simplified method that I use, so I’ll leave the chemistry lessons to the experts.
Let’s start with the starter. The starter is simply a combination of water and flour, but it’s a crucial piece of the sourdough puzzle. You know how sometimes you use a packet of yeast in baking? A sourdough starter cultivates the wild yeast that’s in the air all around us. It’s what makes the bread rise and get those nice, bubbly air pockets that sourdough is famous for.
If you have a friend who makes their own sourdough, you can get some starter from them and get baking right away. Otherwise, you can easily make one from scratch. I made my own using this recipe, and I would highly recommend it for beginners. It takes 5-7 days, but once you’ve got a “ripe” starter, you can continue to feed and use it for years and years (it’s my dream to pass mine down to my girls!).
Let’s loosen up the rules…
Like I said above, my method breaks some of the sourdough “rules.” If you’re a type A person and love having exact measurements and exact consistency, this method may not be for you. If you’re like me and you often find yourself only able to cook with one hand because you’ve got a baby in the other…this method is for you!
- I don’t use a scale to weigh my ingredients, I just use a measuring cup. Baking pros will tell you this will lead to inconsistency, but since I often have a baby on my hip when I’m cooking, it’s just so much easier for me, and my bread has still been consistently delicious.
- I keep my starter (see above) small so I don’t throw any of it away. To maintain an active starter, you discard some of it and “feed” it water and flour daily. I used to feed my starter 1 cup of flour a day and it really felt like I was burning through flour and throwing away more starter than I was actually using for my bread. Now, I keep my starter at half the size, so I feed it 1/2 cup of flour each day and I have zero discard. This works for me because I always make the same size loaf.
- I only feed my starter once a day. Most experts recommend feeding it 2 or even 3 times per day, but I’ve found that once a day works for me and my bread, and I end up using way less flour.
What you’ll need
It’s almost time to get baking! First, let’s cover the equipment and ingredients needed.
Equipment:
- 1 large bowl
- something to cover the bowl- either plastic wrap, a large ziplock bag it can fit inside or a silicone stretch lid (my personal favorite)
- something for the bread to proof in- if you don’t have a banneton, a colander lined with a tea towel is great.
- a dutch oven (I use this one) or other pot with a lid to bake the bread in. Alternatively, you can use a loaf pan.
- parchment paper to line your dutch oven or loaf pan. Alternatively, you can simply grease it or sprinkle cornmeal on the bottom.
The flour:
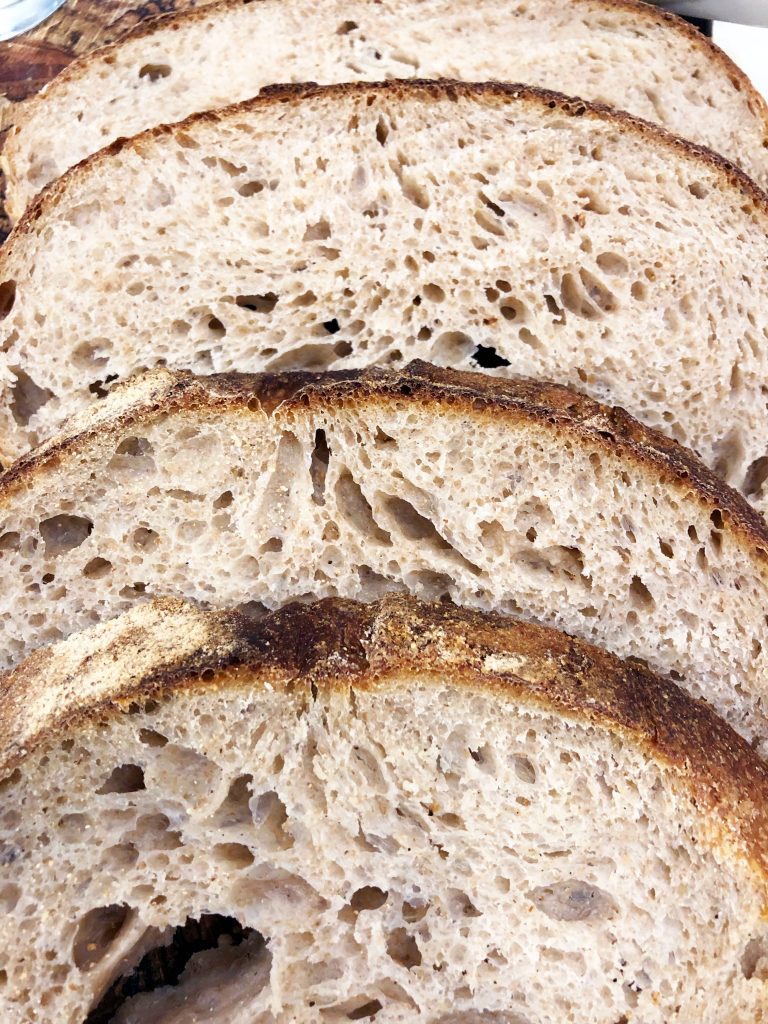
Ok, so we already know that the magic of sourdough bread is that the only ingredients are flour, water and salt. Usually, a combination of flours are used, with the largest percentage being bread flour. Bread flour is high-protein flour, which means there’s more gluten in it. More gluten makes the dough stretchier and results in a light, chewy texture with tons of air bubbles.
Typically, there’s another (or more than one) type of flour mixed in, like whole wheat, spelt, rye, kamut, etc. The type of flour(s) you add will give your bread different flavor and texture.
I really like the hearty texture and taste of a mostly whole wheat loaf, so I’ll often do a 2:1 ratio of whole wheat to bread flour.
At the moment, people in many parts of the country are having a difficult time finding any type of flour at the store, let alone specific artisanal blends. The good news is that you can really use whatever you’ve got on hand to make sourdough! I do think it’s ideal to have a small percentage of the dough be bread flour to get that signature light and airy sourdough texture, but don’t sweat it if you can’t find any on the shelves. All-purpose, whole wheat, spelt, or any similar wheat flour should do the trick (I haven’t experimented with gluten-free flours so I can’t speak to that at the moment).
*As you’ll see below, my recipe calls for 3 cups of flour. If you’ve got bread flour and whole wheat (or spelt) on hand, I would recommend starting with 2 cups of bread flour and 1 cup of whole wheat. For a heartier loaf, you can do 2 cups whole wheat and 1 cup bread flour.
Alright, let’s get baking!
The Method
I mentioned above in the “rules” section that I maintain a smaller starter so I waste less flour. Basically, I keep just enough starter so that my daily discard is the exact amount I need for my bread recipe. That means that after discarding, my starter is just 2 tablespoons and I feed it 1/2 scant cup flour and 1/4 cup water.
When I bake bread, I don’t even measure the amount of starter I add- I know, it’s wild!- I simply scoop out all but 2 tablespoons to use for the dough, then feed my starter 1/2 scant cup flour and 1/4 cup water. This works for me because I always make the same size loaf.
If you have time, I highly recommend you watch a video tutorial (like this one) so you can see exactly what handling the dough should look like.
Ok, let’s make some bread!
- 2 cups bread flour (see above for alternative ratios)
- 1 cup whole wheat flour (see above for alternative ratios)
- 1½ cups room temperature water
- ¼ cup + 3 tablespoons starter (see my non-measuring method above)
- 1¾ teaspoons salt
- extra flour for dusting
- In a large bowl, mix the bread flour and whole wheat flour with the water. Use your hands to mix everything together into a rough dough. Cover the bowl and let it sit for 2 hours.
- Add the starter and salt. Use your hands to mix everything together for a couple of minutes until the starter and salt feel mixed in. Let the dough rest for 10 minutes, then come back to it and work the dough in a circular shoveling motion (I recommend watching a few Youtube videos of folks making sourdough to see what I mean!) until it starts to form one cohesive piece.
- Cover the bowl and let it sit in a warm spot in the kitchen for the "bulk fermentation." The amount of time the dough needs to ferment will depend on the temperature in your house, and it can be anywhere from 4-6 hours. I like to let my sourdough ferment on the longer side, which can be up to 8 hours depending on what time I get started.
- Every hour or so during this time, you'll do a "stretch and fold." This video (and there are so many other on youtube!) is a great example of this simple technique.
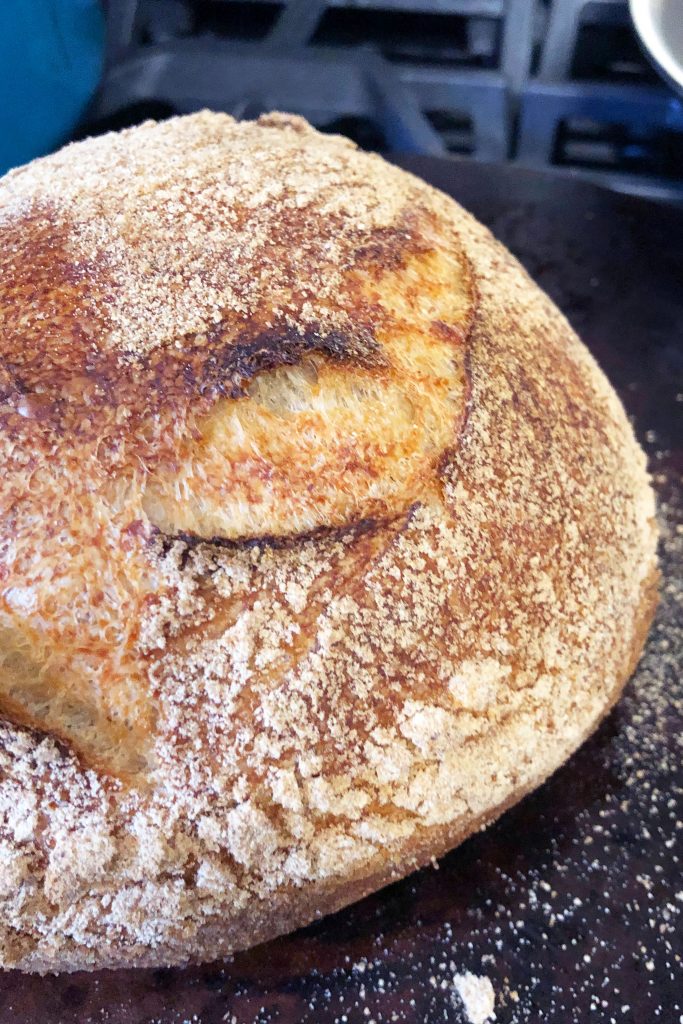
- By the end of the bulk fermentation, the dough should have almost doubled and you should see air bubbles forming on the surface. If you are going to use a loaf pan, at this time you can transfer the dough into it, cover, and place in the refrigerator overnight. For a round, artisanal-style loaf, next you need to shape the dough. Sprinkle a clean surface with flour. Gently transfer your dough onto the surface. To shape the dough, gently fold all four sides over each other, like you're wrapping a package. Then, continually pick up the dough so the top surface can fold over itself, allowing the top of the dough to become taught. I recommend watching a video (like this one) to get the technique.
- Once the dough is nice and round, gently transfer it to a floured banneton or colander lined with a tea towel. Cover, and place in the refrigerator for the cold fermentation (ideally at least 12 hours).
- In the morning, preheat the oven to 500°F. Line a dutch oven with parchment paper or sprinkle it with cornmeal.
- Gently flip your dough out of the banneton and into the dutch oven, so it's upside down with the smooth side facing up. Use a sharp knife (or bread lame if you have one) to score a couple of lines about ½" deep into the dough.
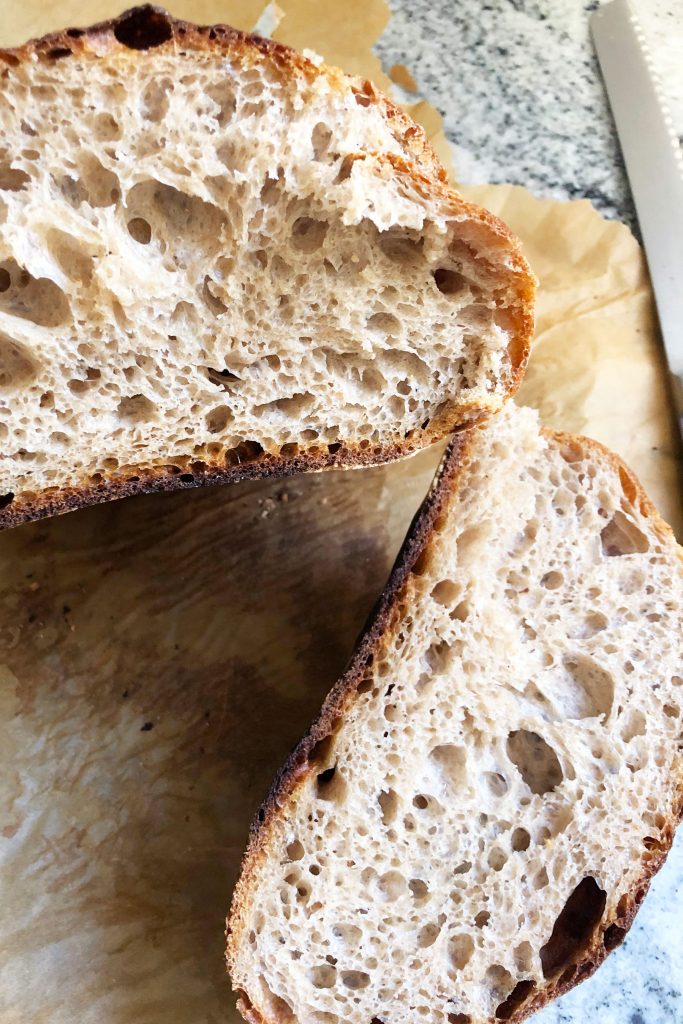
- Cover the dutch oven and bake for 25 minutes. Turn the heat down to 475°F and bake for 10 minutes. Remove the cover and bake for another 15 minutes, then toss about ¼ cup of water into the bottom of the oven to steam (this makes a nice crispy crust) and bake for another 5 minutes. If you're using a loaf pan, simply bake at 475°F for 40 minutes.
- Remove from the oven and let the bread cool in the dutch oven (or loaf pan) for at least 1 hour. Remove, slice, and enjoy!
More than just bread…
For me, the beauty of sourdough is that you can do so much with very little. In addition to using your starter to make bread, I’ve used it in pancakes, fritters (I have a GREAT recipe I will share soon!), crackers and even sweets like cookies and cinnamon rolls.
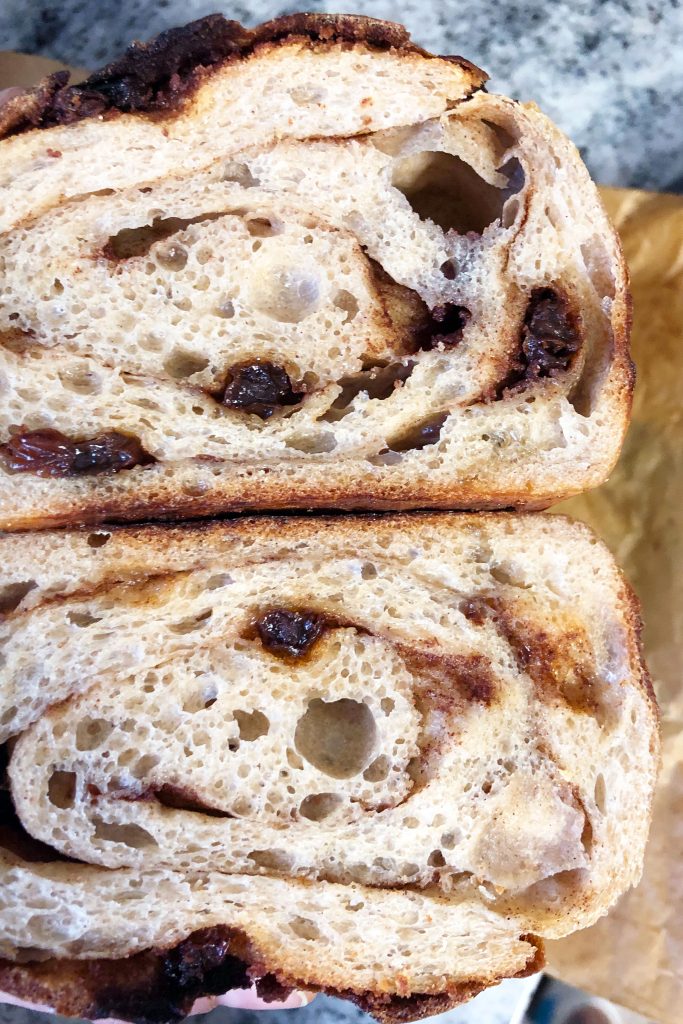
I’ll get to work on a follow-up post sharing what else I’ve been doing with my starter, but for now I’ll direct you here for tons of ideas.


Yum! I could eat bread by itself all the time especially with some melted butter. OooOo thank you for this recipe. I’m going to be in trouble later.. lol
Thank you for daring to take the “measuring mystique” out of bread baking. I’ve been cooking and baking for 50 years (sometimes professionally), and I believe in knowing when you can relax about the rules and when you can’t. I just made my first from-scratch sourdough starter (I’ve made yeast-enhanced starters before), and your method is tying in nicely with my own bread-baking experience, so I have high hopes for my loaf! Thanks!
Yay!! Yes, that’s such a great way to put it- knowing when to relax about the rules and when not to! 🙂
I love everything about this recipe! I have made several amazing loaves from it so far. Believe it or not I was even slightly more lax on the rules/measurements and still the bread came out great!!! Airy, chewy, crusty, perfect! Thanks 😉
I love to hear it!!
This is my go-to sourdough recipe. It works really well for me when I don’t get too creative with the flour types! I’ve gotten lots of compliments on my bread, especially the crust.