No-Bake Joyful Almond Bars, Vegan & Gluten-Free
Summer 2017 is officially the season of no-bake dessert bars! At least it is in my house.
A few months ago I told you about my plan to cut back on the amount of refined sugar I eat. In place of all the sugar-filled desserts that I love, I started swapping in raw/no-bake treats that are sweetened with dates and maple syrup.
Oh my goodness, how I love these treats. I started with Peanut Butter Caramel Bars then moved onto No-Bake Brownie Bites and the totally epic Amazing Everything Bars (shoutout to everyone who tried these and sent me a photo!).
Basically, I’ve been in raw dessert heaven all summer. It’s been really easy not to crave sugar-filled cookies and brownies from my favorite bakeries because all of these treats have totally hit the spot.
The one snag in my plan is that Ross really, really loves ice cream. Coconut Bliss Chocolate Peanut Butter vegan ice cream to be exact, and on his 6 block walk home from the subway to our apartment there are about 10 different stores that he can pick up a pint. Since we’re parents now, most of our nights consist of drinking tea or half a glass of wine (on a really wild night) on the couch before going to sleep at 9pm, and two spoons in a pint of ice cream fit a little too perfectly into that picture.
The moral of the story is that in addition to all the healthy-ish treats I’ve been having, I’ve also been eating a lot of ice cream and I 100% blame Ross and Baby V. But I digress.
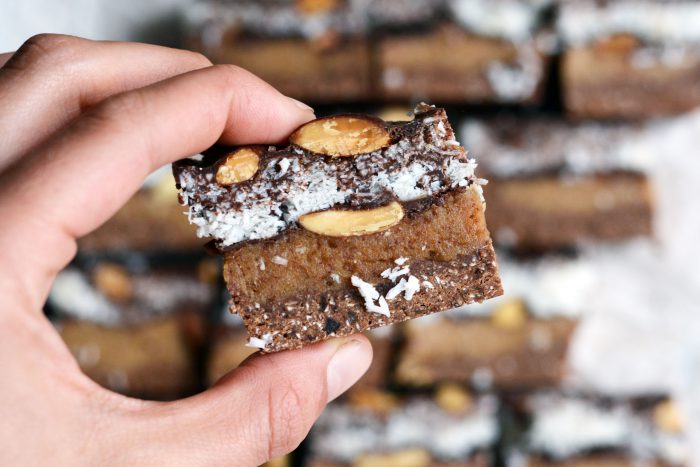
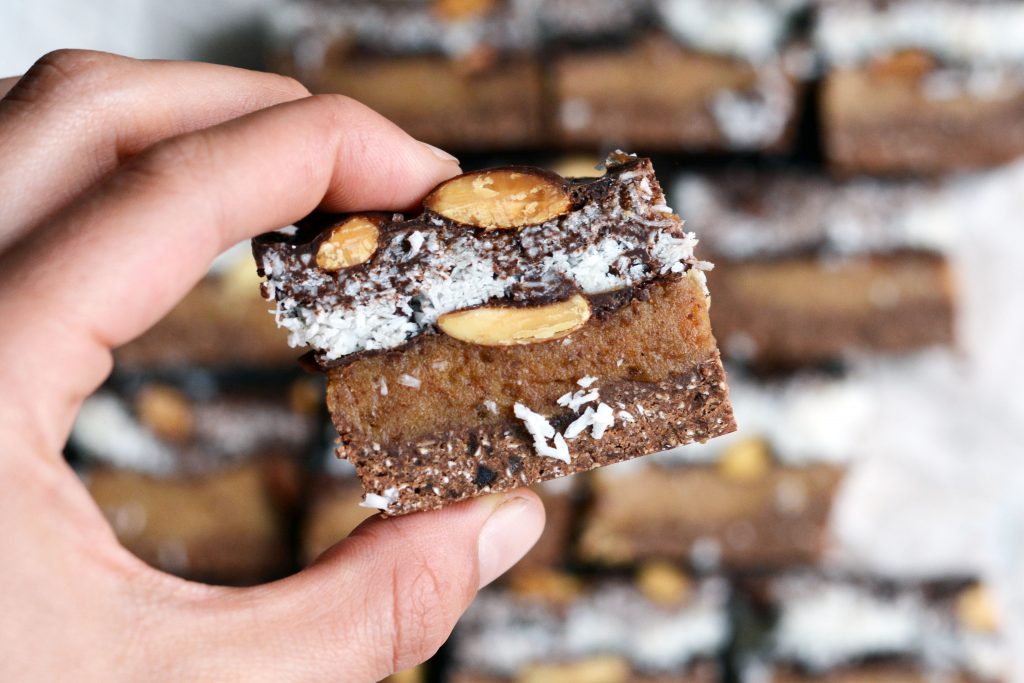
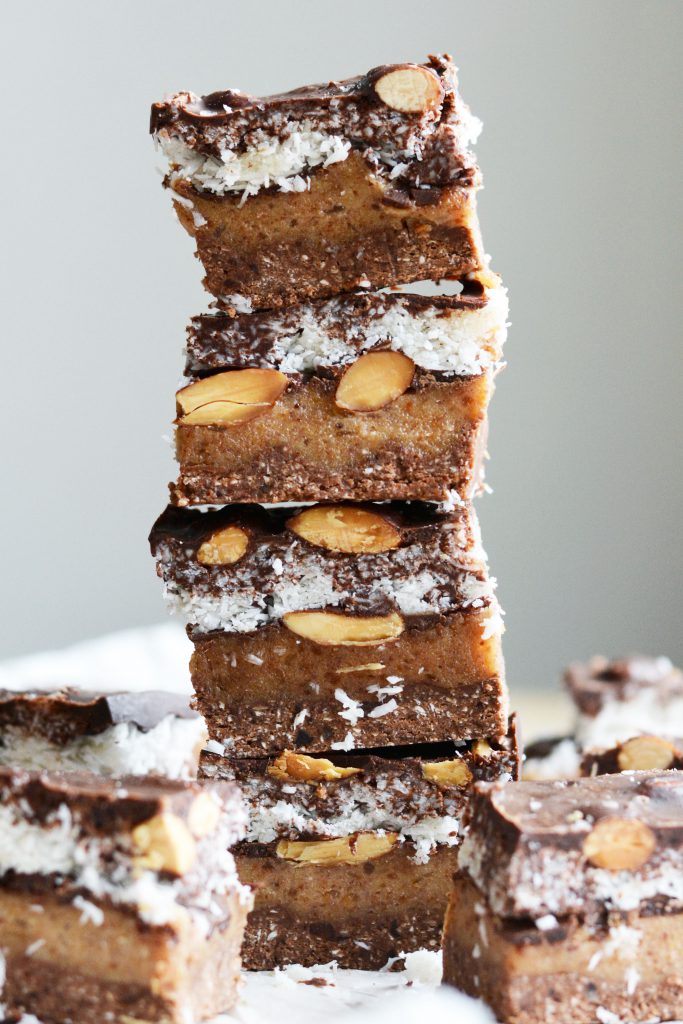
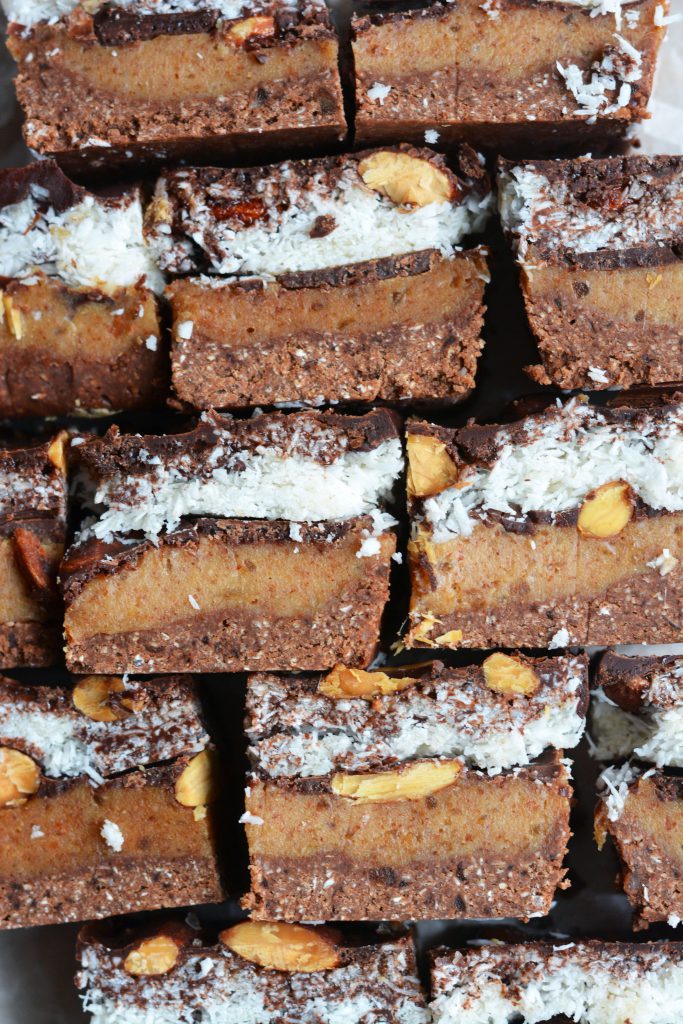
Today’s Vegan & Gluten-Free No-Bake Joyful Almond Bars are the latest raw treat to rock my kitchen’s world. Seriously, they are so, so decadent, with just the perfect balance between creamy dreamy smoothness and crunchy goodness.
These bars are like the baby of an Almond Joy and Mounds candy bar, but with a much healthier ingredient list. With multiple layers of yum, they take about an hour to make, but if you love coconut, chocolate and almond as much as I do, they’re more than worth it.
So the new sugar plan is to keep a batch of these bars on hand at all times, have a serious talk with Mr. Ice Cream Junkie about how many pints of ice cream we really need in our lives and our bellies, and limit him to 1 (maybe 2?) pints a week!
- ¾ cup rolled oats
- ¼ cup medjool dates, pitted (soaked in hot water for 30 minutes if not soft)
- 2 tablespoons cacao powder
- 2 tablespoons coconut oil, melted
- 1 tablespoon maple syrup
- ⅛ teaspoon salt
- 1 cup medjool dates, pitted (soaked in hot water for 30 minutes if not soft)
- ¼ cup almond butter
- 2 tablespoons non-dairy milk
- 2 tablespoons coconut oil, melted
- pinch of salt
- ¼ cup almonds, divided
- ¼ cup coconut oil, melted
- 2 tablespoons cacao powder
- 2 tablespoons maple syrup
- 1 cup unsweetened shredded coconut
- 2 tablespoons coconut oil, melted
- 1 tablespoon maple syrup
- Line a 9" x 5" loaf pan with parchment paper. This will help the bars come out easily.
- To prepare the chocolate crust, pulse the oats in a blender or food processor until flour is formed. Add all the other crust ingredients, then pulse until a mostly smooth texture is formed. Scoop the mixture out and press it into the bottom of the pan.
- To prepare the caramel almond butter layer, blend all the ingredients together until smooth. Spread the mixture over the chocolate crust. Sprinkle half of the almonds on top and use your hands to slightly press them in.
- To prepare the chocolate layer, in a small cup, stir all ingredients together until smooth. Pour ½ of the mixture over the caramel almond butter layer. Place the pan in the freezer so the chocolate can harden (about 15 minutes).
- While the chocolate hardens, prepare the coconut layer by stirring all the ingredients together.
- Take the pan out of the freezer and spread the coconut layer over the chocolate. Sprinkle the remaining half of the almonds on top and use your hands to slightly press them in.
- Pour the remaining half of the chocolate over the coconut layer. Sprinkle extra salt on top, if desired, and place the pan in the freezer to set (about 15 minutes).
- Once the chocolate top is hardened, remove the pan and gently tug on the parchment paper to remove hardened piece. Use a knife to slice it into bars and store the pieces in an airtight container in the fridge.





This looks really good. I have been looking for desserts that do not require cooking since it has been so hot here!
Totally! I hope you love it!